QGIS has native support for geospatial databases using PostgreSQL as a back end. PostgreSQL can be fully geospatially enabled using the PostGIS extensions to allow for direct geospatial manipulation within the database itself.
Installing PostgreSQL (Windows)
As of this writing, the latest supported version of PostgreSQL for QGIS 3.4 is PostgreSQL 10.x. An interactive installer can be downloaded from EnterpriseDB at: https://www.enterprisedb.com/downloads/postgres-postgresql-downloads
Once downloaded, follow the prompts in the installer to complete the setup. It will download and install some libraries from Microsoft to start before getting into the process.
Installation Directory
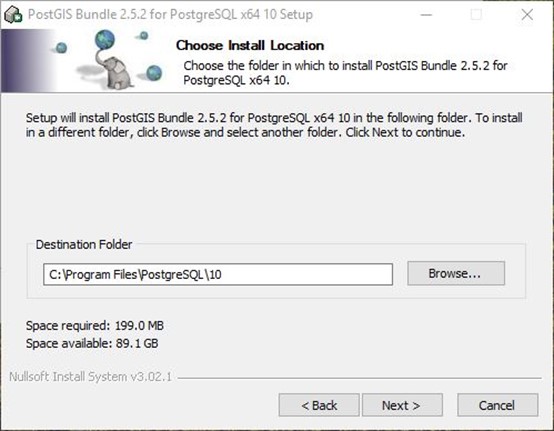
This documentation assumes the default installation location at C:\Program Files\PostgreSQL\10. If this is not the installation directory desired make note of it for future reference.

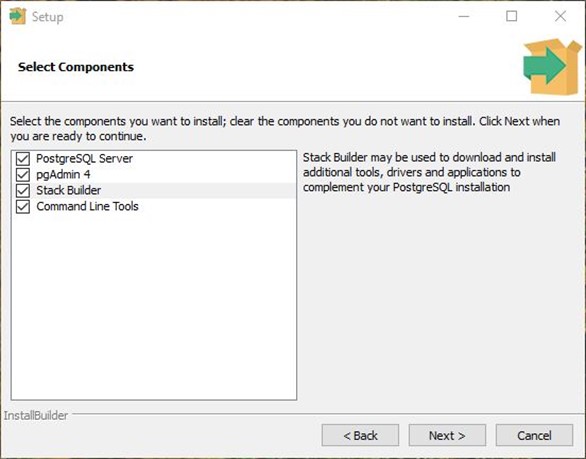
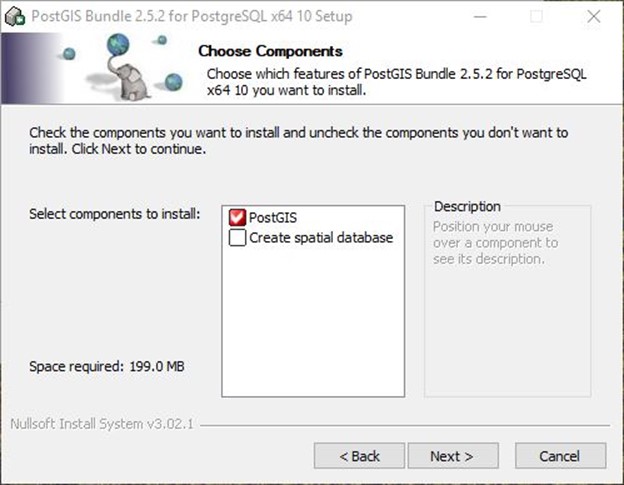
Components
For computers hosting the database PostgreSQL must be installed with at least the PostgreSQL Server, Stack builder and Command Line Tools. However, it is recommended to install the pgAdmin component as well to make managing databases more user friendly.
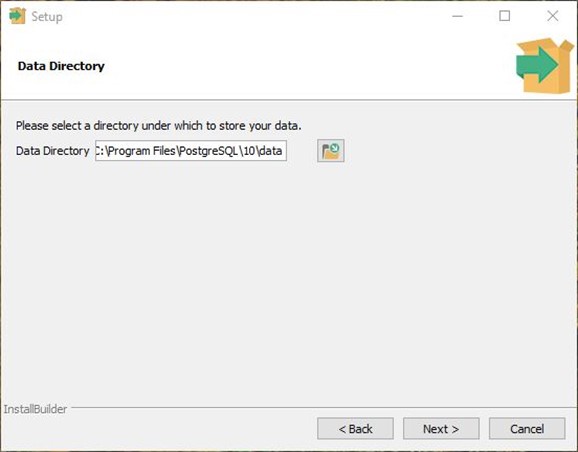
Data Directory
The data directory is the folder on the server where all the database files will be stored. When backing up a database make sure to back up this folder. It is not recommended to store this folder on a cloud synchronized folder such as OneDrive, Google Drive or Dropbox as their synchronization efforts may cause confusion with files that are constantly changing with multiple users.
Superuser Password
PostgreSQL requires a superuser account that controls all databases on the server. By default this user is assigned ownership of all the databases running on the server. This user account should NEVER be used to manage the day-to-day operations of the database.
Note: The superuser account password should be strong and kept in a secret and secure place. This is extra important on databases that will be web-facing. The superuser account can be used to make changes to all databases on the server and to infiltrate even encrypted databases.

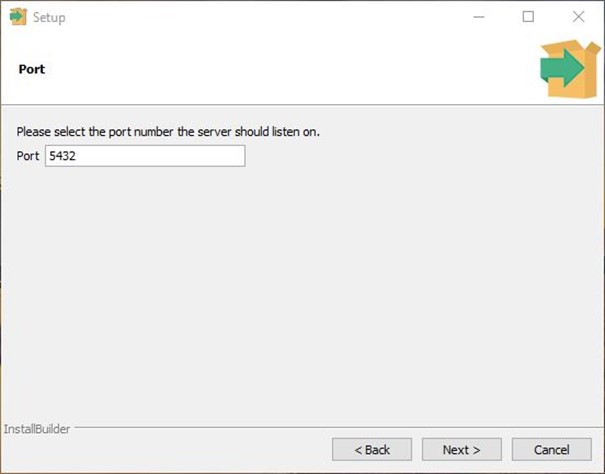
Port Configuration
The database server assumes that it will be accessible from network or internet connections. To communicate with a specific application over a network a client device needs two values:
- IP Address or Hostname
- Port number
The IP address indicates which computer should be connected to, while the port number tells the server which application is being queried. The default port number for PostgreSQL is 5432, but it can be set to any arbitrary value if the user desires. Some installations set it to a non-standard port number to aid in security, however that is no substitute for proper configuration and a strong password policy.
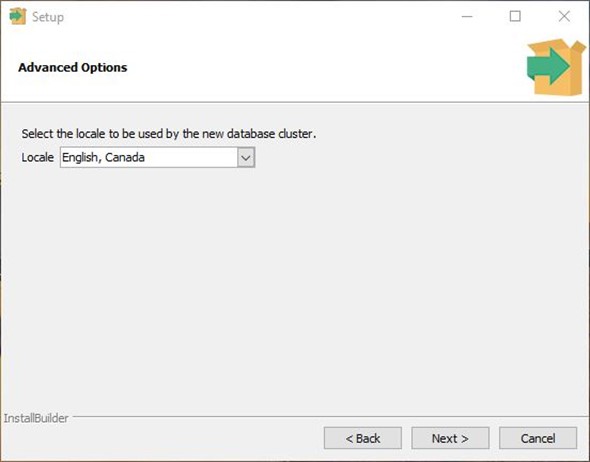
Locale settings
It is not imperative to set your locale, however it is recommended. The locale settings define the default language of the database and other region specific things like date and currency format. The default is English/United States.
Installation Summary and Installation
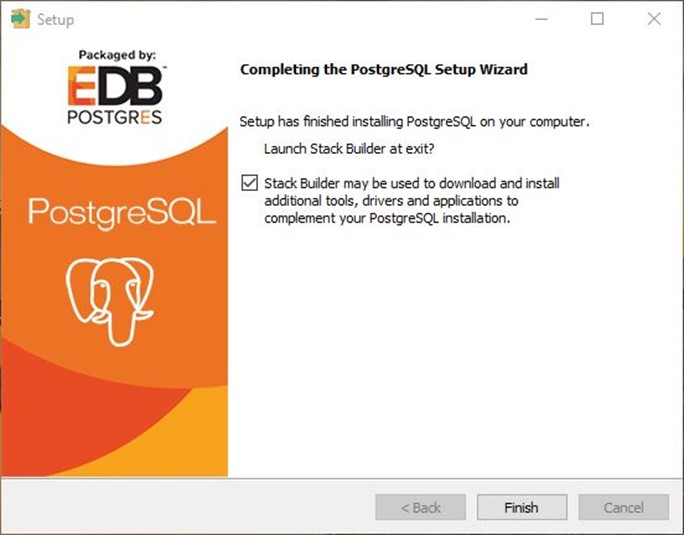
The summary window gives a brief overview of all the selections made during the installation process. Double check that they are all correct and follow the prompts to begin installing the database manager.
Once the installation has been completed, launch Stack Builder to install the remaining components needed to work with QGIS and geospatial data.
Installing GIS extensions
Once the baseline installation of PostgreSQL is completed, it is important to install the geospatial plugins to make it work with geospatial data.
PostGIS allows for the direct manipulation, querying and editing of spatial data. This includes spatial joins, selection based on location etc.
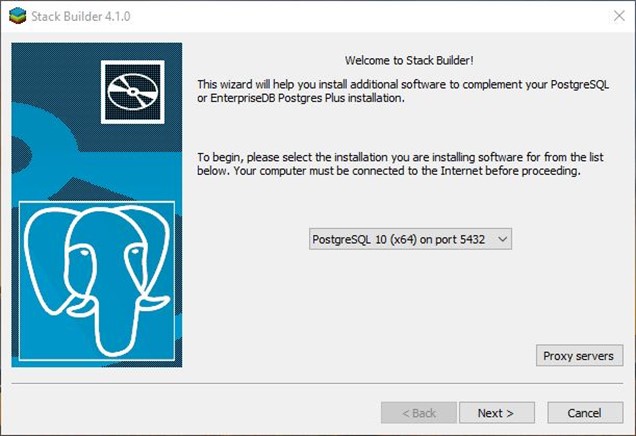
Select PostgreSQL installation
To ensure that the extensions are installed to the proper database cluster, it must be selected from the dropdown menu. If there is more than one cluster on the computer, it is imperative that they be given different port numbers.
Installing PostGIS
For QGIS to work with PostgreSQL it needs the PostGIS extensions. These can be found under “Spatial Extensions” > PostGIS 2.5 Bundle
If you want to install other database versions alongside 10.x it is possible at this point as well, but this documentation will not cover this.

Download directory
You can choose a non-default download directory for the installation files for PostGIS. It defaults to the user folder. It is a good idea to place it in a different folder that is accessible to all users if this is a shared server or work environment.
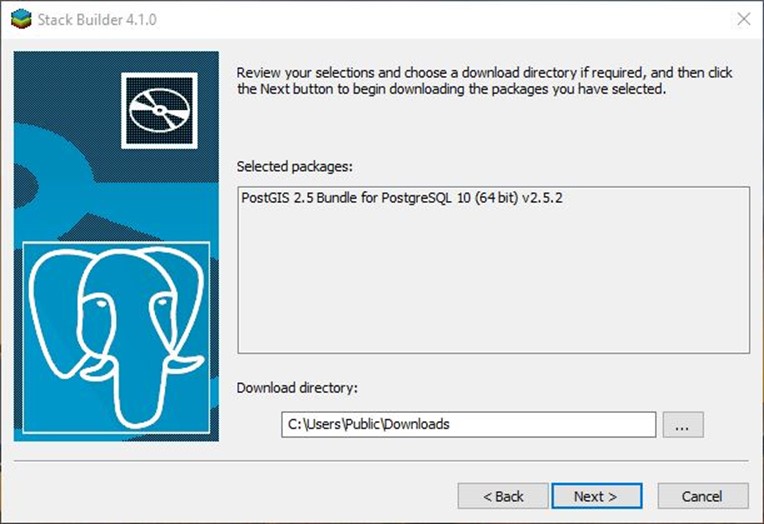
Once the installation files have been downloaded continue the installation.
PostGIS Install Options
Once installing PostGIS the installer will prompt to create an optional new spatial database. This can be done now or later, for this tutorial we will skip this and show how to create one from scratch.
PostGIS Installation Folder
This folder should be the same as the folder PostgreSQL was installed in earlier.
Registering GDAL_DATA environment variable
An environment variable within Windows is a system wide setting that allows specific software, directories or tools to be called directly from within any directory on the system.
Unless GDAL has been installed elsewhere, it is recommended that this variable be registered to allow for manipulation of raster data within the PostGIS database.
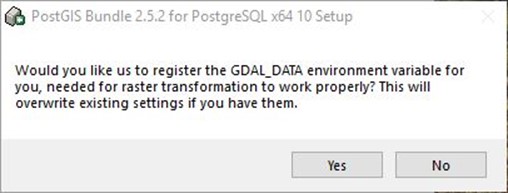
Unless no raster data is to be used in the database, select yes to the next two dialogs asking about enabling support.
Once this step is complete, PostGIS is ready to use.
Installing PostgreSQL with PostGIS Database (Linux)
Linux is significantly easier to get PostgreSQL with PostGIS up and running. This tutorial will use Ubuntu 18.10 as a distribution but the process will be similar on any Debian based Linux distribution.
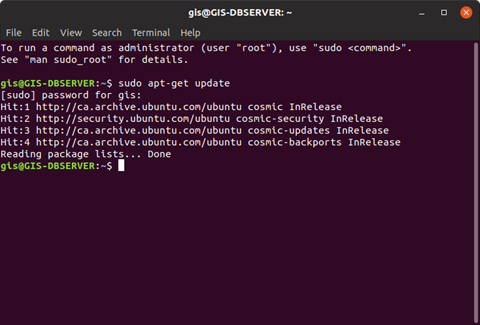
Open the terminal window in Linux

Update the application repositories
Type sudo apt-get update into the terminal window. It will prompt for the admin user password.
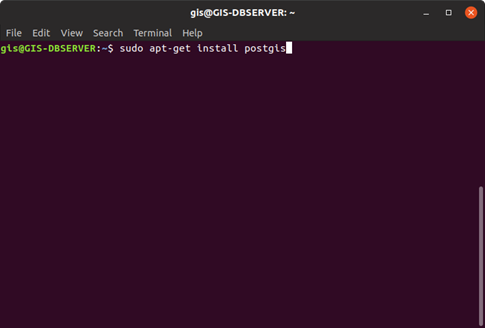
Install PostgreSQL with PostGIS extensions automatically
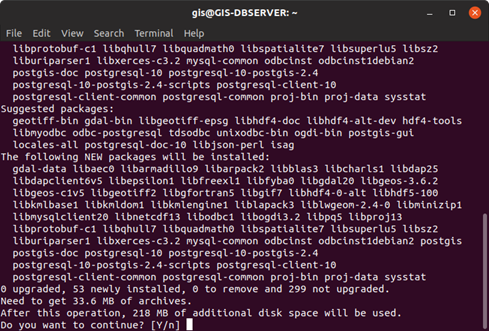
Type sudo apt-get install postgis into the terminal window. Sudo has already been called so no password is required.
It will ask you to confirm the download. Type “Y”
Test that PostgreSQL has been properly installed
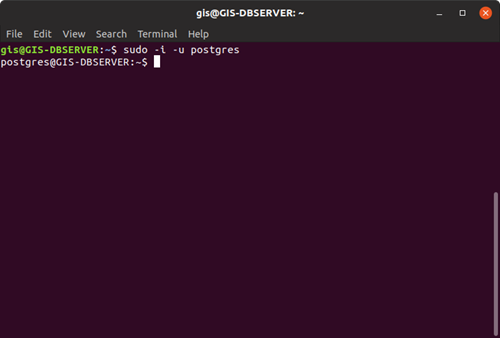
To test if PostgreSQL has been installed, try switching to the Postgres user account by typing:
sudo -I -u postgres
The terminal user prompt should change to something like postgres@COMPUTERNAME:~$