Mapbox has an excellent tiling service that has both a ton of basemaps and an easy-to-use mapping system for web applications. It is possible to use their tiles in QGIS as a basemap.
The steps are relatively simple and will be covered below.
- Create a Mapbox account by going to www.mapbox.com.
- Login in and create a style in Mapbox Studio.
- Get the share URL for the style and your API key.
- Add the tile service into the QGIS WMS/WTMS settings.
Creating a style in Mapbox Studio
Click “New Style” at the top of the studio page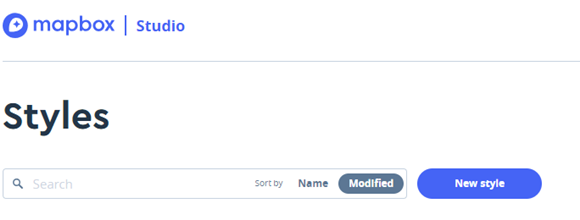
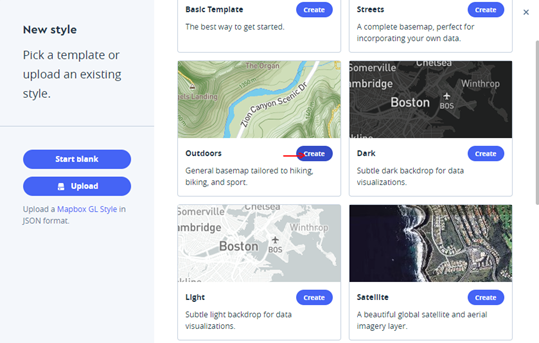
Pick the basemap style you wish to use and click “Create”.
Publish, then share the style. In the share URL there will be a style ID number that you need to save.
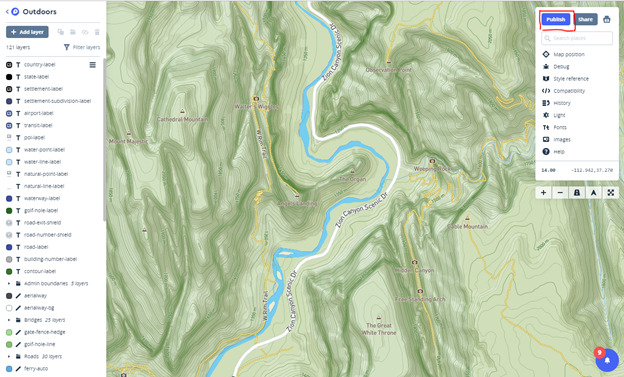
The Style ID is the portion of the URL after your username and before “.html”
Make sure to set your style to public.

Creating an access token
If you don’t already have a public access token, you can create one now.
Go to your account page on Mapbox and create a token.
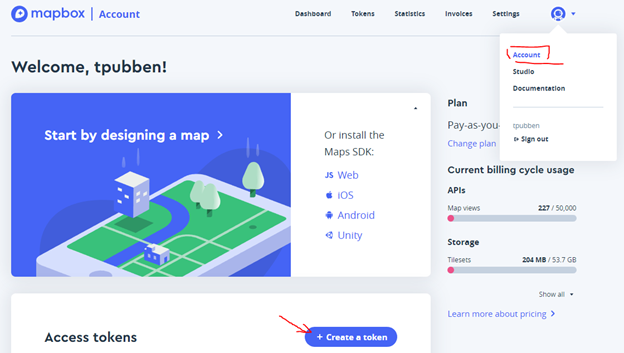
Once you’ve created your token it is available to copy from your list of tokens.

Connecting the tile service to QGIS
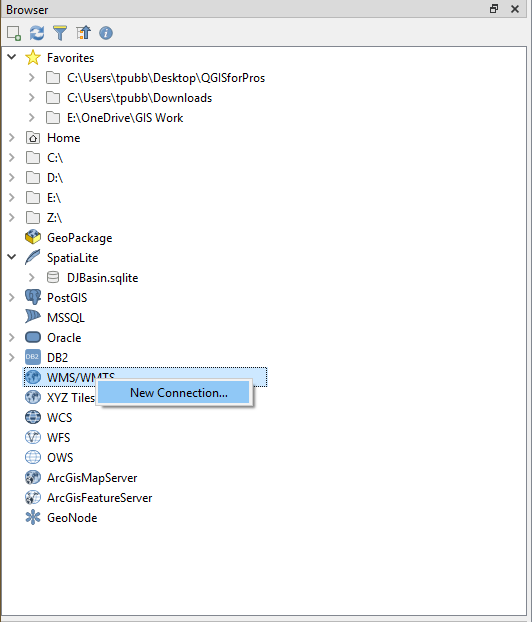
In the browser pane, right click “WMS/WTMS” from the available data sources and create a new connection.
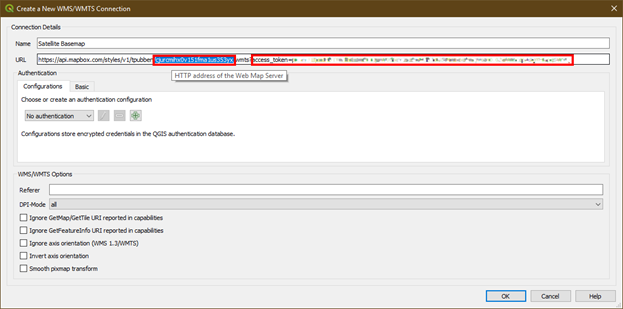
Name the basemap whatever you wish and add the appropriate URL in the format below:
https://api.mapbox.com/styles/v1/[USERNAME]/[STYLE_ID]/wmts?access_token=[ACCESS_TOKEN]
Replace all elements in square brackets [] with your own information.
Finished
You can now add the mapbox tiles as a basemap to any QGIS project.